Wednesday, April 28, 2010

Earth Day

Today we made paper from recyclables.
First I had the kids rip paper into about 1-2 inch squares.

Then we put it in the blender with water.

The last step is to make it into paper. Which can be done a few different ways.
One way is to dump the mixture into a large flat dish, then use a screen and move it back and forth under the water until you get an even layer. Allow the water to drip off some, then press between 2 layers of towel. You can take the "paper" off at this point and allow to dry or you let it dry on the screen.

The other way I know of is to use some kind of mold (any mold will work jello, a pan you like, or just about anything as long as it has a bottom and sides- i.e. not a cookie cutter). After you have the pulp in the blender, use your hand to scoop some out. Place it in the mold, and press it in. Tip to let the water drain out. Repeat all steps until you have a relatively even coat in the bottom and sides of the mold. Make sure it is not too thick or it will take a long time to dry.

You can choose to let it dry in the sun, on the table, or you can use a fan (or dehydrater on low).

Variations- You can make seed paper. If using the first method, sprinkle the seeds over the paper when in the water. Mix with your hand a bit so that the seeds are covered with paper when it dries.
If using the second method, sprinkle seeds when you have a good layer of pulp in the mold, then cover with a thin layer of pulp.

I hope this all makes sense. Feel free to ask me any questions in the comments.
Tuesday, April 20, 2010

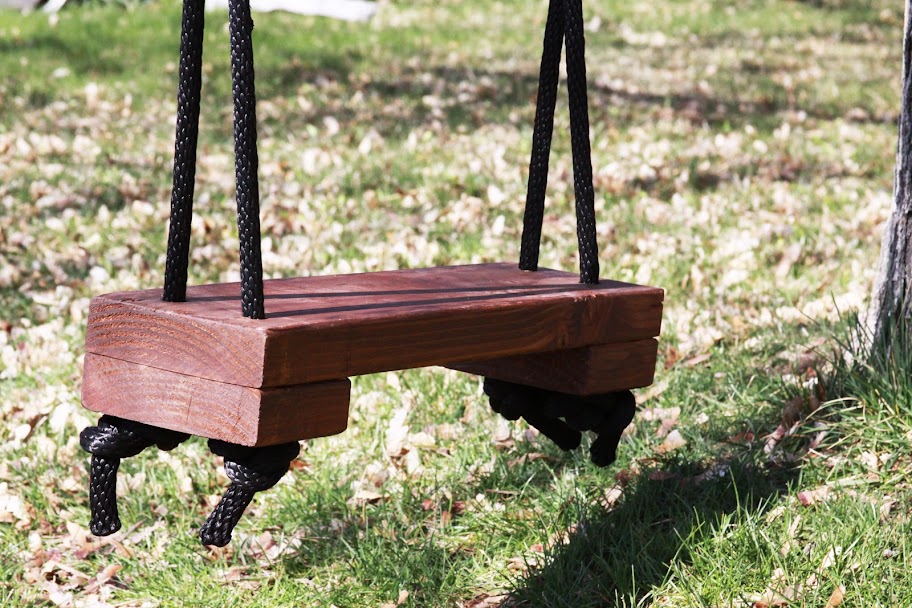
I built this, by myself! hehehe
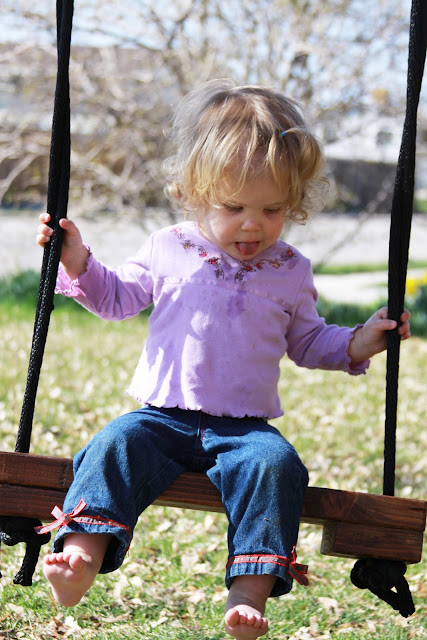
The girls love this new swing.
Lexi was not so sure, but we got her to sit on it
long enough to get a picture.

I found this tutorial, and made this swing for my kids.
Although I made mine about 20 inches long and about 1 foot off the ground, since I was making it for the kids. I wanted to make it big enough for 2 kids to sit on it together or 1 adult.
It was quite easy to make, but cost more than expected (the rope was kind of expensive). The hardest part was drilling the holes for the rope. I had to pre-drill with a small bit, then use the largest one we had. It still wasn't big enough, so I tried to move the bit in a circle until the hole was big enough.

Sunday, April 11, 2010

FYI
The kids approve

Wednesday, April 7, 2010

Candied Orange Peels

Anyone who really knows me knows that I hate throwing things away. I love being able to use things that others (or I) would normally throw away, in a new way. So after the girls and I ate 3 oranges for breakfast, I was left with this.

So I went downstairs, hopped on the net, and looked for things to do with them. I found this, but nothing really stood out to me. Until... #9, which I clicked on and it brought me here.
So here is my take on Candied Orange Peels...
First off my peels were shorter, since I had not had this in mind to begin with. It turned out that it didn't matter. Also I agree, it did take about 75 minutes of simmering to turn them sufficiently translucent.


Another thing you should know about me is that, I am not very patient. The thought of waiting 4-5 hours let alone 2 days for them to dry did not appeal to me. So after letting the strips drip and dry for about 20-30 minutes, I transferred them to my food dehydrator. I turned it to the the lowest setting (95 degrees) and let the fan do the rest.
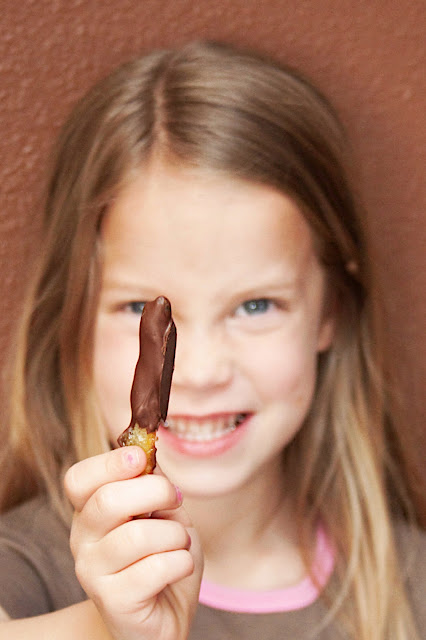
In about 2 hours they were ready to be dipped in chocolate. Also I tried something new. I chopped up some of the small pieces, put them in the chocolate, then dropped them in small piles to dry. They are really yummy, and a great way to use up the last of the chocolate.


On a side note... As afore mentioned, I hate throwing things out. So I decided rather than throw out the water when I blanched the oranges 3 times, I reserved the liquid. I added cinnamon, cloves, and about a cup of sugar. I let it boil and reduce, while the orange strips were simmering. Then after I took the oranges out of the liquid in the pan to dry, I added that to the mixture. I then added about 1-2 T Ultra Gel. I mixed it up, and put it in a jar. I plan to use it as a syrup for pancakes or waffles tomorrow, and as an added benefit it made my house smell AMAZING!!!!!

So there you have it, I hate to throw things out, I am impatient, and I love to try new things (mostly just to prove to myself that I can).

Friday, March 26, 2010

Glitter hair gel...

I got a wild hair this morning, as I sometimes do. I was reading one of my magazines, and found this fun idea to make hair gel. I am off to try it out, and will let you know what I think.


And this is the result. The kids were not sure what to think about it at first.
Some warmed up to the idea and some did not.
It made a big mess. I wanted to do it outside, but didn't want
to wait for the weather to cooperate.
Next time I think I will invite more kids, and make a party
of it OUTSIDE!!!!!


Glitter hair Gel

1 cup water
2 T unflavored Gelatin
4 T Glitter

Soften gelatin in 1/4 cup water for five minutes. Boil remaining water then add to gelatin mixture. Stir in glitter and let set in refrigerator. When almost set, stir again to disperse glitter.
I was supposed to teach preschool on Tuesday, but my kids had coughs and one of the other kids did too. He didn't want to come, and the other child had somewhere else they had to go. I had already prepared it, so I did it with my kids.
First, we used magazines pics to make spring collages, then we went on a nature walk. Then we made the girls' names out of sticks and hot glued them together.
Thursday, for preschool, we painted flower puzzles. Then used them to practice patterns. We also danced like butterflies, and made paper hats for spring.
If you need instructions on any of these projects, leave a comment and would be happy to oblige.

Tuesday, February 16, 2010

A new way to decorate a cake

I am not a very good cake decorator. What I mean by that is, sure I can frost a cake, but using the different tips or fondant is not one of my talents. But I hate buying cakes for birthdays, and other occasions, because they never taste very good, and well I am kind of cheap. So, since my girls have been small, I have been trying to teach myself to be better at decorating (this year especially).
I have been experimenting with fondant. It is not as hard as it might seem. There really is nothing to it, and there are many tutorials about it online. So, on to my next problem, the decorating. You either use cookie cutters to cut it or you have to buy some molds.
I started experimenting with my Cricut Expressions, and my Cuttlebug to see what I could do with that. Can I just say, tons of fun and tons of possibilities.

So here are some tips I learned for using the Cricut.

First, get a small amount of gum paste, and use a pasta machine to roll it out. Make sure you flatten it gradually or your gumpaste will lay flat. On my machine, I rolled it to a 5 and 6, but the 6 worked better.
If it starts to stick put a little bit of flour on it.

Second- Cut it so your edges are straight, and allow the gum paste to dry a bit (about 10-15 minutes worked for me).
While you are waiting, use a pastry brush to apply some shortening on your cricut cutting mat. Use your finger to apply the flattened gum paste onto your mat. Make sure it adheres well, and get all the bubbles out.

Finally, cut with your cricut like you normally would. It took a bit of practice, but it really was fun. In this shot, I didn't get adhere it well enough to the mat. Also if you are having trouble, your blade may be dirty, but it is very easy to clean. I hope all this is clear if you have questions, email me.

Or if you want to use your Cuttlebug...

Roll the gumpaste out using your pasta machine the same as you did for the cricut.
At this point you can let it dry some or go on to the next step. It is very forgiving. When you are ready, rub a bit of flour on the gumpaste, slide into a plastic bag. Then just run it through your Cuttlebug the same as you would with paper.
You can use a cookie cutter or your Cricut to cut out shapes before you texture it or you can do it after.
I love the texture it gives to your shapes. Lots of fun! If you have any questions, feel free to email me.

If your gumpaste starts to dry out too much, work in a very small amount of shortening.